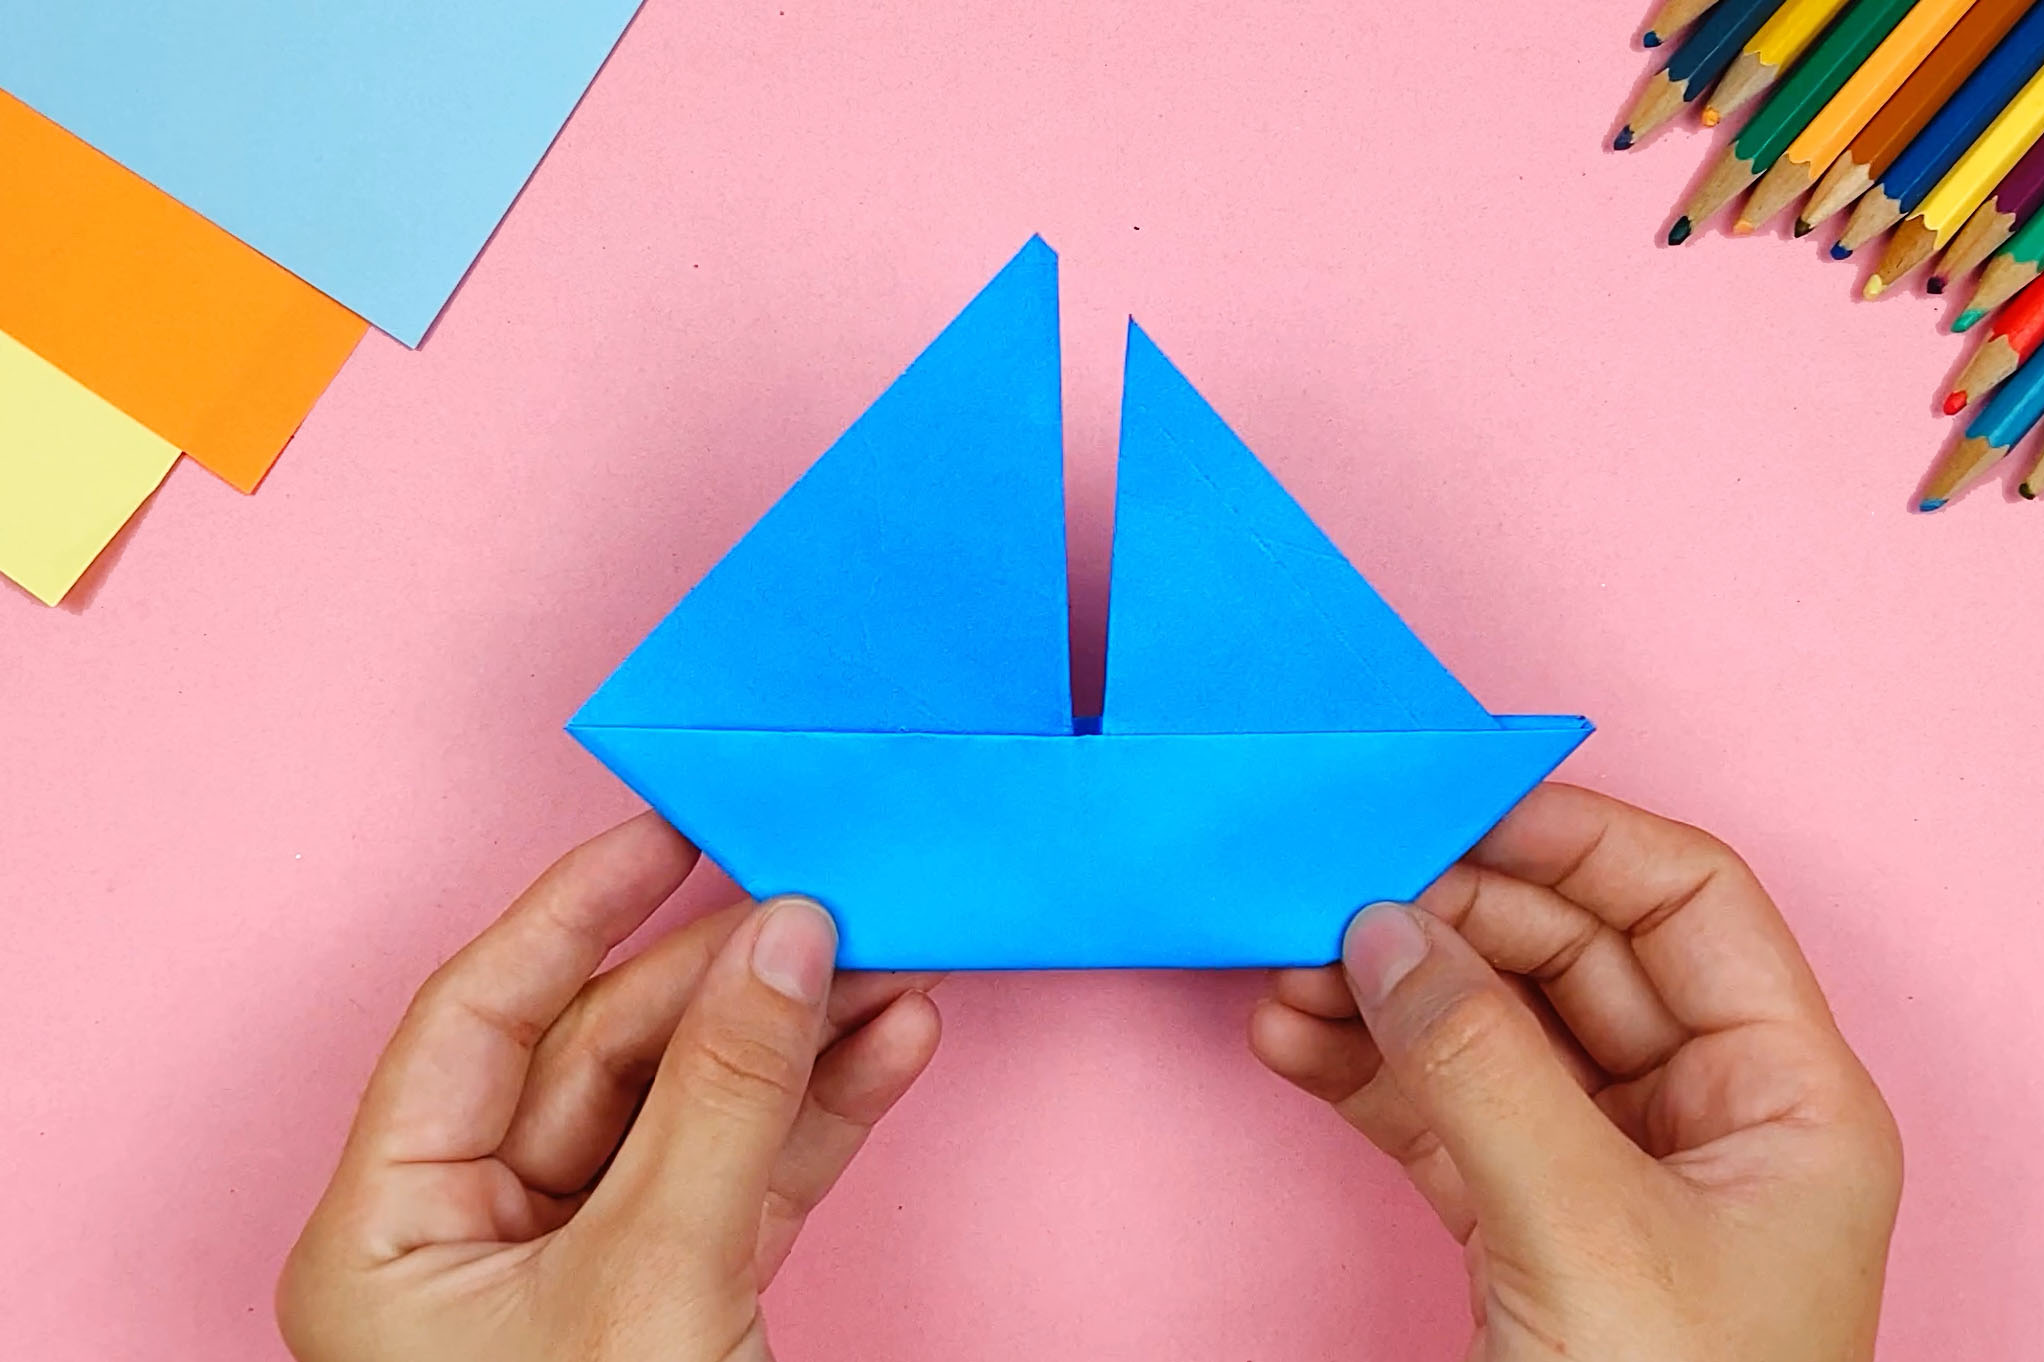
This paper boat is a relatively simple idea to implement and is based on origami. This is a Japanese art of folding paper. The basis for all sorts of figures and shapes is a square sheet of paper. Akira Yoshizawa, the founder of modern origami, developed more than 50,000 models. Our sailboat does not float on the water, but it can be put up for decoration. All you need is a sheet of paper. The following instructions will help you step by step to make a beautiful sailing ship.

Step 1: Fold twice
Take a square sheet of paper and fold it once in the middle from one corner to the opposite one. You smooth out the fold and unfold the triangle into a square again. Then you take the other corner and do the same. In front of you is a sheet of paper with two lines crossing like an X.

Step 2:Fold vertically and horizontally
Now fold the paper from one edge to the other. To do this, place the square straight in front of you and fold the right side over the left, so that the edges lie directly on top of each other and a rectangle is formed. You stitch over the fold and open the rectangle again. Then take the top edge of the square and fold it down, creating a fold in the middle again. After opening, the sheet is divided into eight pieces like a cake.


Step 3: Corners inward
Take the upper left corner and fold it inward so that the tip is exactly in the middle of the square. Do the same with the lower right corner.

Step 4: Sides in
Now you need a little dexterity. You press the flat sides inward at the same time. In doing so, you push the center fold slightly upward so that the two corners automatically fold inward. Then flatten the shape. A small square lies in front of you.

Step 5:
You fold the left corner of the top folded layer over to the opposite side and smooth the fold. The cross-shaped lines are visible again.


Step 6:
You turn the square and fold it over so that a square with one closed and one open tip is formed. The closed part lies on the table with the tip down. The upper part consists of two triangles. There is a gap between the triangles.

Step 7: Sail of the paper boat
You fold the right triangle down and bend it back up so that it shortens by about a centimeter. This is the shorter sail of the paper boat. You put the sail in the pocket that has formed in the middle.


Step 8: Stand
You fold the bottom corner and in front of you is the finished paper boat. The folded corner serves as a stand. You place the boat so that the stand is on the back and can not be seen from the front.
All instructions shown here are copyrighted by happycolorz GmbH.
Interested in using it? Please just send an email to nutzung@happycolorz.de.
More Crafting Ideas
-

Bee craft -

How to Make a Paper Boat -

How to make an envelope -

Ladybug Craft -

Origami Boat -

Butterfly Craft
More Ideas for Drawing
-

Airplane drawing -

Plane drawing easy -

Apple drawing -

Bicycle drawing -

Ship drawing -

Car drawing -

Car drawing easy -

Cat drawing -

Cow drawing -

Dinosaur drawing -

Dog drawing -

Puppy drawing -

Dragon drawing -

Digger drawing -

Fairy drawing -

Giraffe drawing -

Lion drawing -

Mermaid drawing -

Moon drawing -

Motorcyle drawing -

Penguin drawing -

Pig zeichnen (einfach) -

Princess drawing -

Reindeer drawing -

Rooster drawing -

Santa Claus drawing -

Shark drawing -

Sheep drawing -

Strawberry drawing -

Sunflower drawing -

Tiger drawing -

Tractor drawing -

Train drawing -

Tree drawing -

Tree drawing easy -

Tulip drawing -

Turtle drawing -

Unicorn drawing -

Unicorn drawing easy -

Witch drawing

