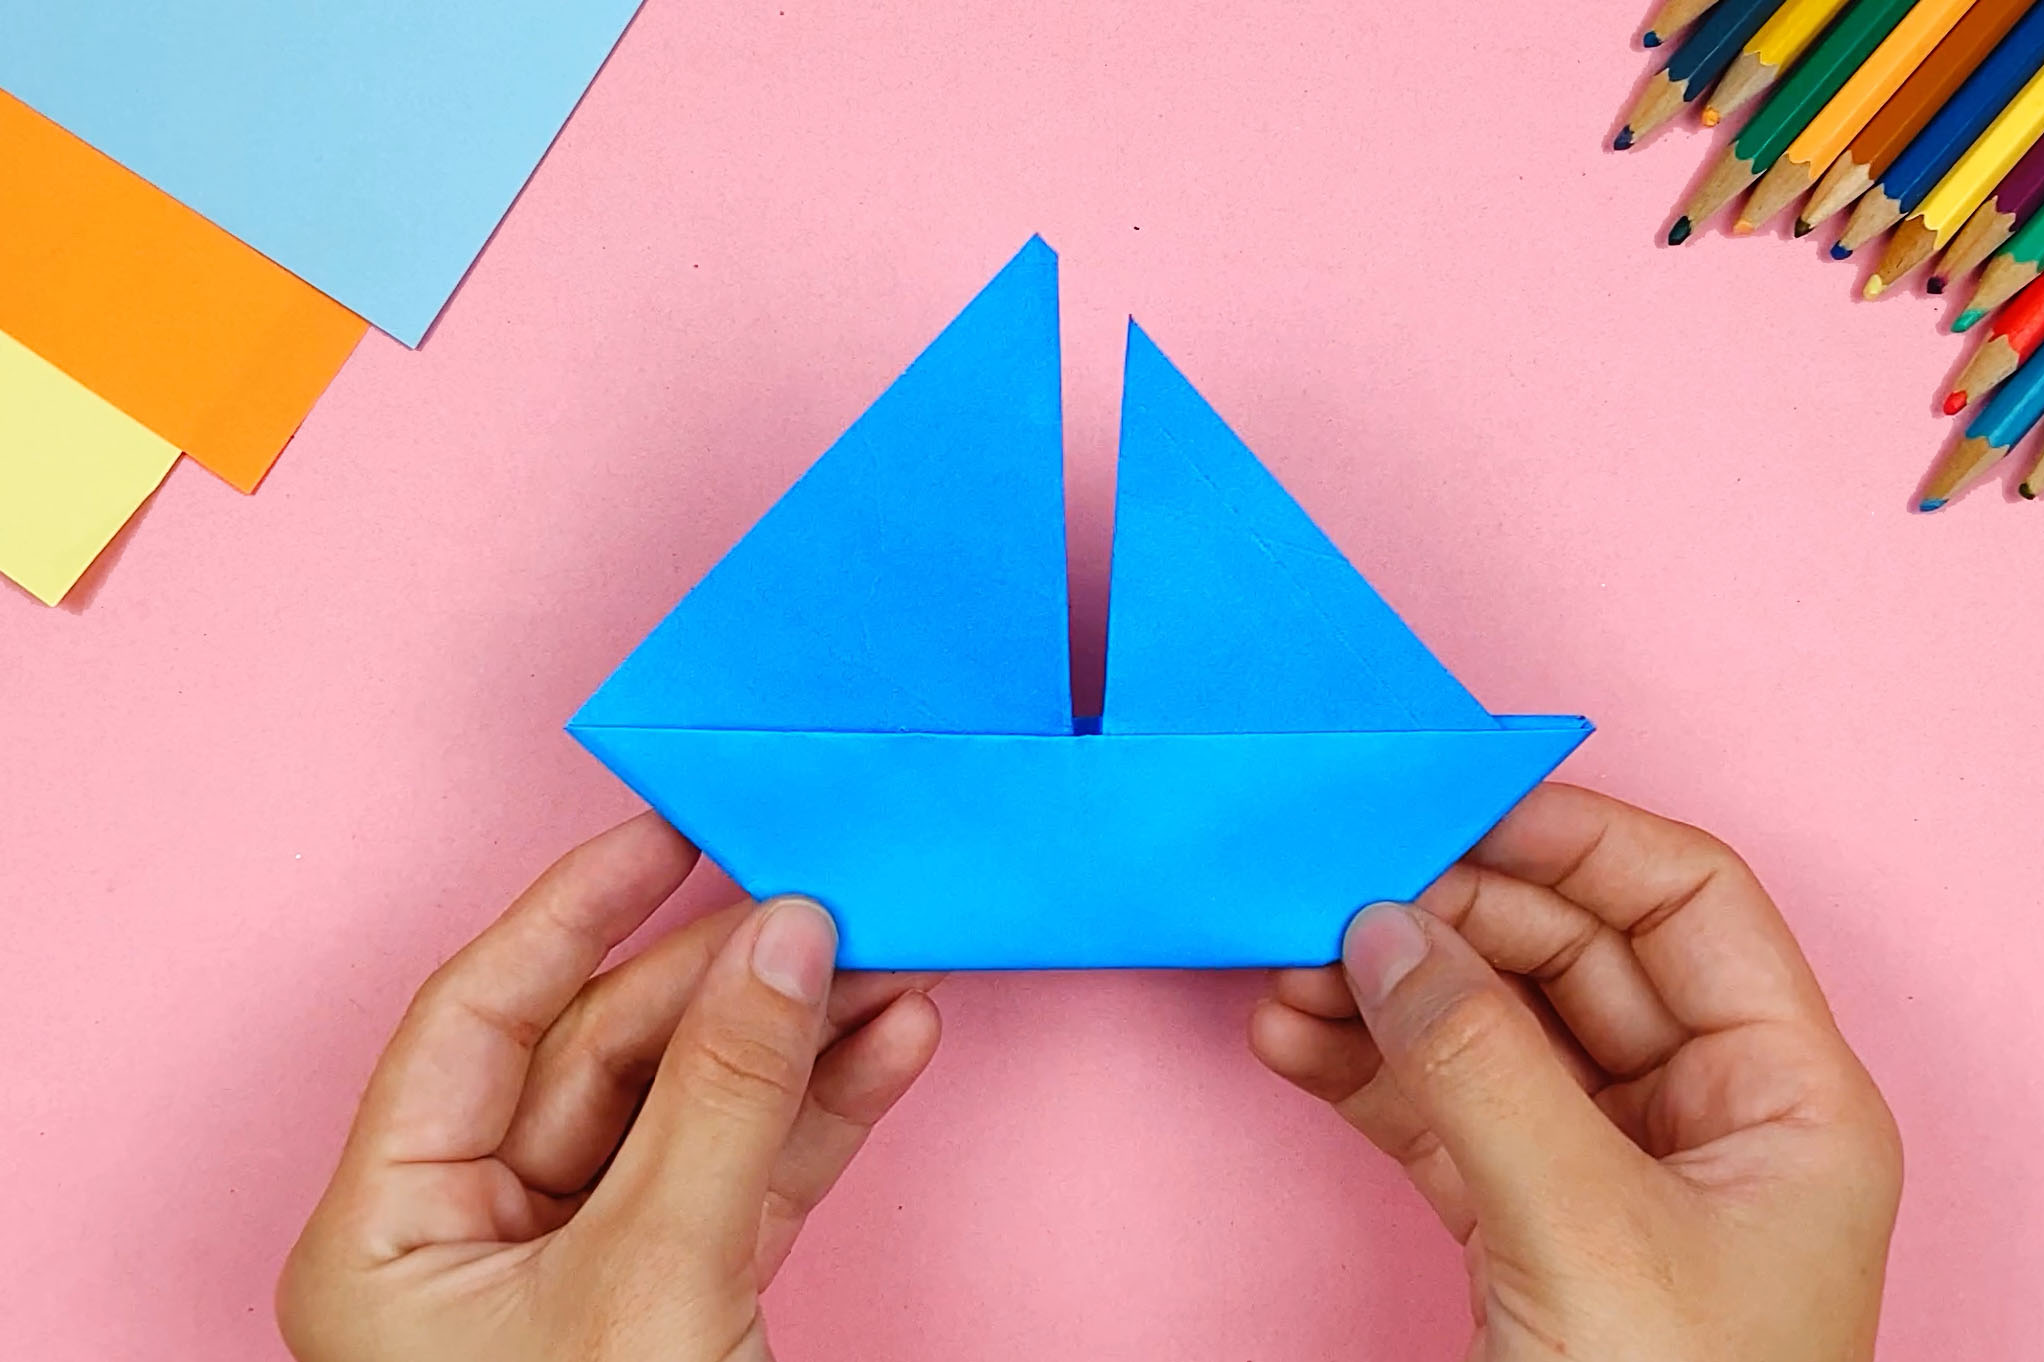
The paper ship, along with the paper airplane, is one of the most popular and well-known craft classics. The little ships have been around for many generations. Already your grandparents let small paper ships float on the water and your grandchildren probably do the same later.
Crafting paper boats is quite simple. Because there are so many steps, it seems a bit complicated at the beginning. But soon you will master the technique and with practice comes routine. All you need for your boat is a sheet of paper and a bit of dexterity. This is how you fold a paper boat step by step:
Step 1: Fold in the middle
You take a rectangular sheet of paper (Din A4 or A5) in a color that you like. You lay the sheet horizontally in front of you, flip the right side to the left side, fold the sheet exactly in the middle and carefully position edge to edge. A rectangle, only half the size of the sheet of paper, now lies vertically in front of you.

Step 2: Center line
You turn the folded paper so that it lies horizontally in front of you. Then you fold it again from right to left and fold it in the middle. Then unfold it again. In front of you is a rectangle with a clearly visible center line.

Step 3: Fold top corners inward
Take the right corner and flip it to the middle. Do the same with the left corner. The inside edges of the two triangles are touching. The paper that is in front of you looks like a house with a pointed roof.

Step 4: Bottom edges of the boat
Take the part that is under the triangles and fold it upwards to the stop or to the bottom edge of the triangles. You turn the paper over and do the same on the reverse side.

Step 5: Fold triangle
You turn the paper over and fold the laterally protruding corners. In front of you is a triangle.

Step 6: Convert to square
Take the triangle, grab the center and unfold it into a little hat. Then pull it apart enough to overstretch it and make a square. The square lies in front of you with the point facing down.


Step 7: Bottom corners up
Fold the bottom triangular piece up, but don’t fold it exactly in the middle; instead, leave a margin about the width of a finger at the top so that the top and bottom triangles don’t completely overlap. You turn the piece over and do the same on the other side. In front of you is a triangle whose two bottom corners are slightly rounded.


Step 8: Hut
You reach into the hat again and pull it apart. You pull it out again until a square is formed.

Step 9: Pull tips apart
Take the two outer tips of the square and pull them wide apart with both hands at the same time. Your paper boat is ready.

All instructions shown here are copyrighted by happycolorz GmbH.
Interested in using it? Please just send an email to nutzung@happycolorz.de.
More Crafting Ideas
-

Bee craft -

How to Make a Paper Boat -

How to make an envelope -

Ladybug Craft -

Origami Boat -

Butterfly Craft
More ideas for drawing
-

Airplane drawing -

Plane drawing easy -

Apple drawing -

Bicycle drawing -

Ship drawing -

Car drawing -

Car drawing easy -

Cat drawing -

Cow drawing -

Dinosaur drawing -

Dog drawing -

Puppy drawing -

Dragon drawing -

Digger drawing -

Fairy drawing -

Giraffe drawing -

Lion drawing -

Mermaid drawing -

Moon drawing -

Motorcyle drawing -

Penguin drawing -

Pig zeichnen (einfach) -

Princess drawing -

Reindeer drawing -

Rooster drawing -

Santa Claus drawing -

Shark drawing -

Sheep drawing -

Strawberry drawing -

Sunflower drawing -

Tiger drawing -

Tractor drawing -

Train drawing -

Tree drawing -

Tree drawing easy -

Tulip drawing -

Turtle drawing -

Unicorn drawing -

Unicorn drawing easy -

Witch drawing

